How to set up Mosquitto with a self-signed certificate
This how-to guides you through the steps of setting up your own certificate authority for use with a Mosquitto MQTT broker.
The goals are:
- To create a custom root certificate authority (Root CA).
- To create a certificate for the Mosquitto MQTT broker, signed by the custom Root CA.
- To set up Mosquitto with the certificate.
Prerequisites
To complete the how-to, the following is necessary:
- Root access to an Ubuntu server, reachable via IPv4 from your gateway.
- A Lobaro wM-Bus Gateway V4.
- A USB Config Adapter.
- The Lobaro Config Tool.
Install the necessary components on the server
Start by installing OpenSSL and Mosquitto on the server:
sudo apt update
sudo apt install openssl mosquitto
Set the correct working directory
All following steps should be executed inside /etc/mosquitto/certs. Change to the directory as follows:
cd /etc/mosquitto/certs
Create a Root Certificate Authority
The root CA is used to sign the broker and device certificates.
To create a root CA with 100 years validity, replace "My Company" in the common name CN with your name, then execute the following command:
sudo openssl req -x509 -nodes -sha256 \
  -newkey ec -pkeyopt ec_paramgen_curve:P-256 \
  -keyout ca.key -out ca.crt \
  -days 36500 \
  -subj "/C=DE/CN=My Company MQTT Root CA/"
The validity is set to 100 years so that the root CA stays valid above the lifetime of your Lobaro gateways.
Make sure to protect the private key of your CA:
- Ensure the file permission are such that only root can access the private key
ca.key. - Store a copy of the key and certificate in a password manager.
Create a broker certificate
The broker certificate is used by the Mosquitto MQTT broker. The gateways may validate it using the root CA.
-
The following script is going to create a Certificate Request. Before executing it, replace both occurrences of
yourdomain.comwith your hostname and127.0.0.1with the IP of your server.sudo openssl req -new -nodes -sha256 \-newkey ec -pkeyopt ec_paramgen_curve:P-256 \-keyout broker.key -out broker.csr \-subj "/C=DE/CN=yourdomain.com" \-addext "basicConstraints=critical,CA:FALSE" \-addext "keyUsage=critical,digitalSignature" \-addext "extendedKeyUsage=serverAuth" \-addext "subjectAltName=DNS:yourdomain.com,IP:127.0.0.1" -
Sign the certificate request for two years using your root CA:
sudo openssl x509 -req -in broker.csr \-CA ca.crt -CAkey ca.key -CAcreateserial \-out broker.crt -days 730 -sha256 \-copy_extensions copyinfoAfter two years, you may need to renew the certificate using the same command.
-
Change permissions of the private key to the
mosquittouser and group:sudo chown mosquitto:mosquitto broker.key -
The broker certificate is now ready to be used by Mosquitto.
Create folder with trusted certificate authorities
To let devices authenticate to Mosquitto using both the Lobaro device CA and your custom root CA, populate the directory of CAs that Mosquitto should trust:
sudo cp ca.crt /etc/mosquitto/ca_certificates/mqtt-ca.pem
sudo wget -O /etc/mosquitto/ca_certificates/lobaro-device-ca.pem https://manuals.lobaro.com/assets/files/lobaro-device-ca.crt-c90e1f12d86dad5a648e7379301de99f.pem
sudo openssl rehash /etc/mosquitto/ca_certificates
Set up Mosquitto
-
Create a
mosquitto.confwith the following contents:/etc/mosquitto/mosquitto.conflistener 8883capath /etc/mosquitto/ca_certificatescertfile /etc/mosquitto/certs/broker.crtkeyfile /etc/mosquitto/certs/broker.key# Require clients to connect using a client certificaterequire_certificate truepassword_file /etc/mosquitto/pwfile -
Add users to the password file. It is recommended to create separate users for each gateway. To generate a random password, you may use
openssl rand -hex 16.# Create the password filesudo touch /etc/mosquitto/pwfile# Add username + password for each gatewaysudo mosquitto_passwd /etc/mosquitto/pwfile 70b3d5e050020901# Add an admin loginsudo mosquitto_passwd /etc/mosquitto/pwfile admin -
Ensure Mosquitto is run on system boot, and ensure it is restarted:
sudo systemctl enable mosquittosudo systemctl restart mosquitto
Create a client certificate for the admin
To access the MQTT broker as admin, we are using a client certificate. The following steps, except for the signing, may also be executed on a local machine.
-
Create a CSR for the admin user.
openssl req -new -nodes -sha256 \-newkey ec -pkeyopt ec_paramgen_curve:P-256 \-keyout admin.key -out admin.csr \-subj "/C=DE/CN=admin" \-addext "basicConstraints=critical,CA:FALSE" \-addext "keyUsage=critical,digitalSignature" \-addext "extendedKeyUsage=clientAuth" -
Sign the CSR for twenty years validity with the CA on your server:
sudo openssl x509 -req -in admin.csr \-CA ca.crt -CAkey ca.key -CAcreateserial \-out admin.crt -days 7300 -sha256 \-copy_extensions copy -
Using the admin certificate and the CA, you can subscribe to your broker. Replace
yourdomain.comwith your broker's hostname and<password>with the admin password you set earlier:mosquitto_sub -L "mqtts://admin:<password>@yourdomain.com/#" \--cafile mqtt-ca.pem \--cert admin.crt \--key admin.key
Configure the Lobaro Gateway to connect to your broker
To connect a Lobaro gateway to your broker, follow the steps of the Getting Started How-To.
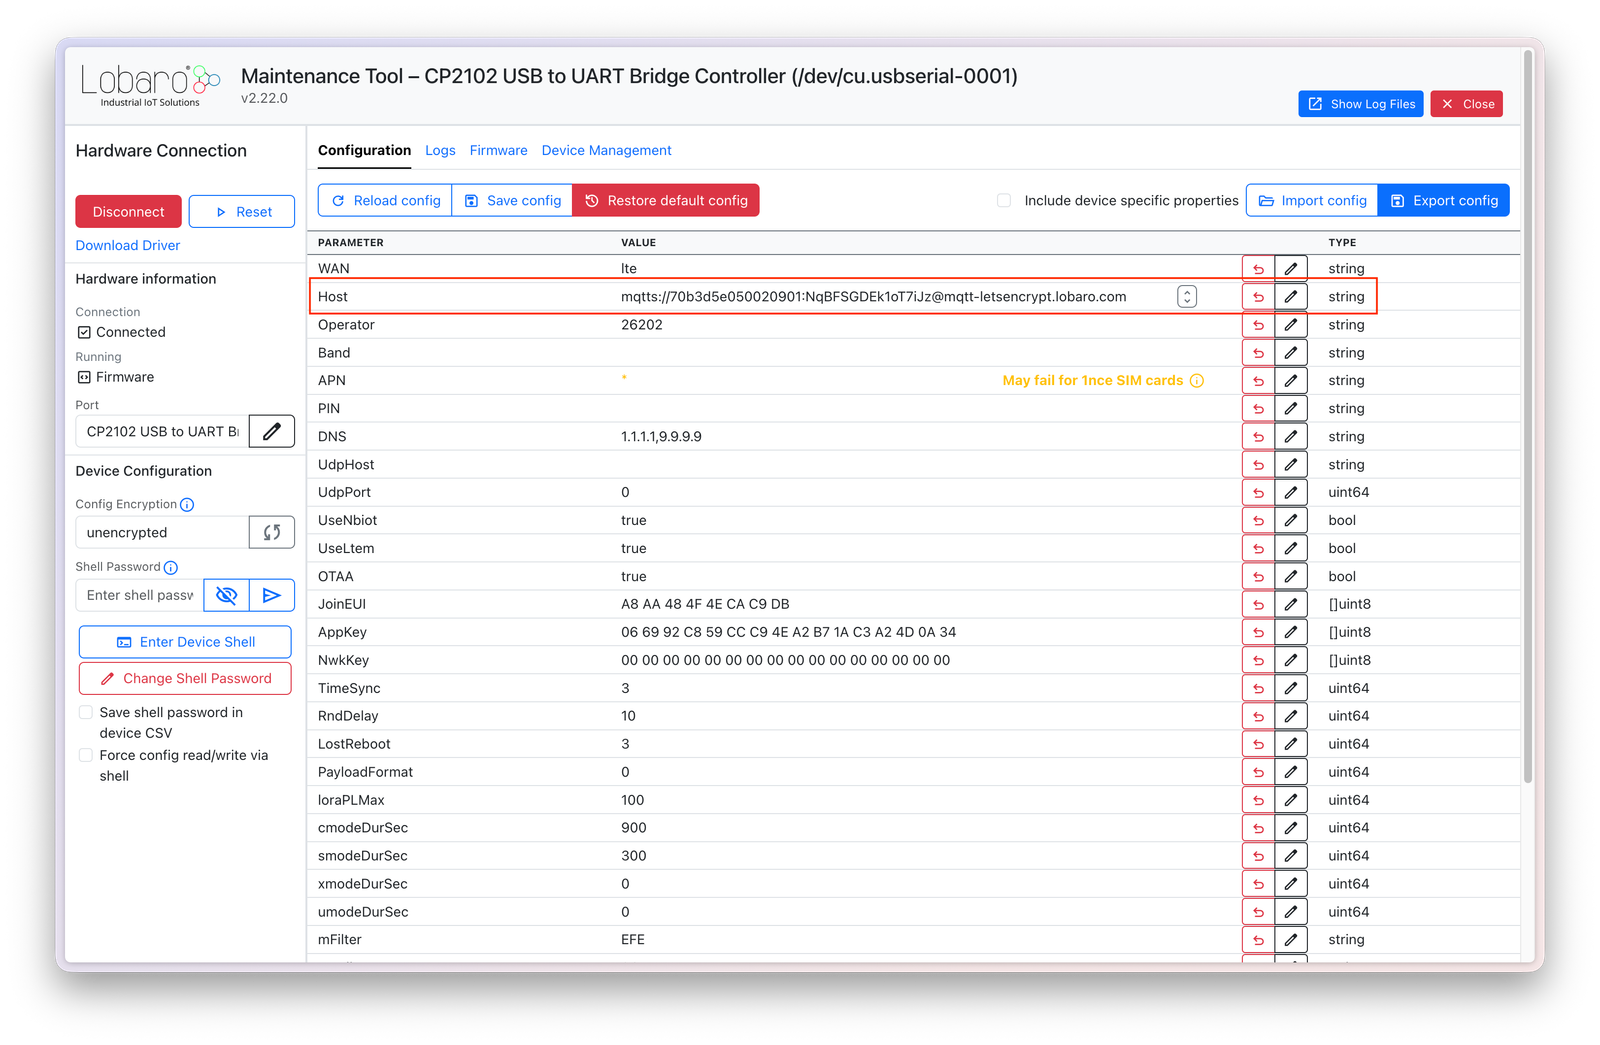
In short, you need to connect to your gateway using the Lobaro Config Tool and then enter the MQTT connection string. Afterwards, the gateway should connect to your broker using its device certificate and should start sending data.