Wireless M-Bus Gateway Din-Rail
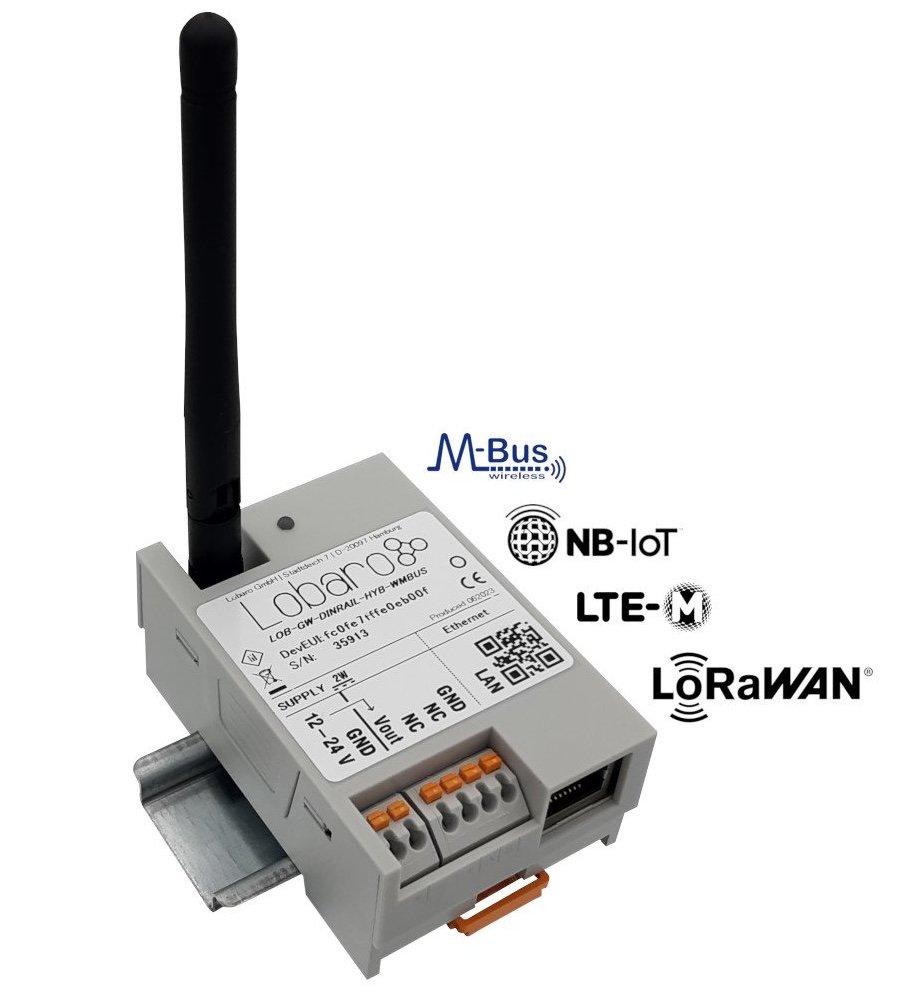 | 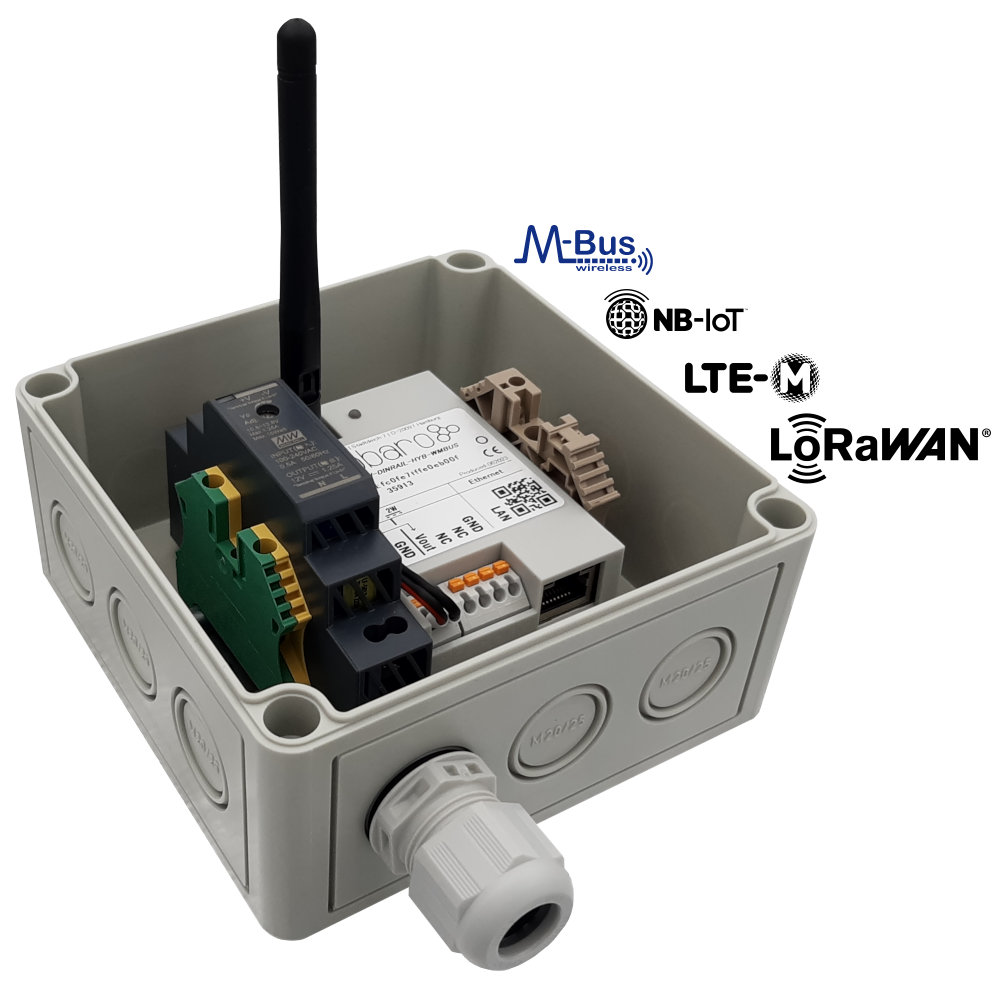 |
Product Identification
- Product Name: Wireless M-Bus Gateway Din-Rail
- Product Type: LOB-GW-DINRAIL-HYB-WMBUS
- Lobaro PN:
8000157
Variants
Wireless M-Bus Gateway (ext. Power 230V)
- Product Name: Wireless M-Bus Gateway (ext. Power 230V)
- Product Type: LOB-GW-DINRAIL-HYB-WMBUS-230V
- Lobaro PN:
8000158
Product Components
This product is manufactured by Lobaro using the components listed below. Detailed information about the firmware and other components can be found in their respective descriptions.
Please use the links provided to access comprehensive product details.
| Component | Manual / Description | Additional note |
|---|---|---|
| Firmware | app-nrf9160-wmbus |
Overview
The Lobaro Wireless M-Bus Gateway Din-Rail receives, caches and forwards metering consumption data from up to 500 wireless M-Bus enabled devices (more on request possible), such as water, electricity and heat meters. It is powered externally and mounted on a DIN rail or, in the 230 V variant, in a wall-mount enclosure.
The gateway extends the typical ~50 m range of wireless M-Bus meters by collecting their short range telegrams and uploading them via NB-IoT / LTE-M.
The work cycle, telegram deduplication, daily status message and all upload formats are part of the firmware and are described in app-nrf9160-wmbus.
Quick start guide
- Make sure the SIM card is inserted correctly.
- Connect power to the device
- Go to The Lobaro Platform and log into your account.
- Go to "Devices" and select your "Lobaro NB-IoT wMBus Gateway".
- If you have several Gateways: the "Address" is printed on the device's case as "DevEUI".
- You should see all wMBus Telegrams the Gateway collected so far.
- If the data is encrypted (closed lock symbol 🔒), you can add keys for your devices under "Organisation → wMbus".
- Push the reset button inside the device, if you want to trigger data collection (will take several minutes).
Compatible meters
The gateway works with every meter using standard 868 MHz wireless M-Bus (S1, C1, T1), OMS v3 & v4 and Sensus RF Bubble UP.
The supported metering protocols are listed in detail under app-nrf9160-wmbus / Compatible Metering Protocols. Background information can be found in the Wireless M-Bus knowledge base article.
Setting up the device
Interfaces
Connections as on the label:
- Vin - Supply voltage 12 - 24 Volt DC
- GND - Ground
- Vout - same as Vin
- NC - not connected
- NC - not connected
- GND - Ground
- Connected cables must be between 0.05 mm² (AWG30) and 1.31 mm² (AWG16).
- Inserted cable length must be between 6mm and 7mm.
- Recommended wire termination:
- Weidmüller: H0,14/10 GR SV, Article Nr.: 9005180000, 8mm/6mm, max. AWG26
- All cables must only be connected or disconnected while the device is not powered
- Vout only supports small consumers like sensors with ≤ 1W
Power Supply
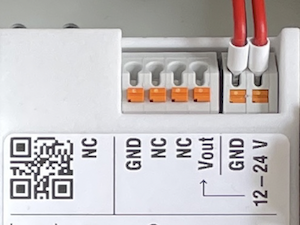
- Power supply via external mains adapter with 12 - 24 Volt DC
- Power output must be at least 2W and maximum 100W.
Radio (LoRa, FSK, NB-IoT, LTE Cat-M1)
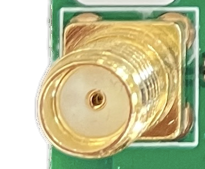
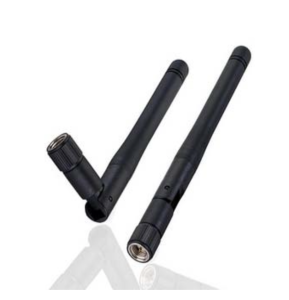
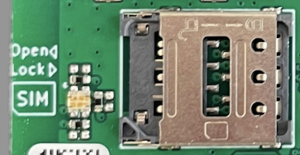
The antenna is used for different radio technologies based on LoRa, FSK including LoRaWAN® and wireless MBUS S1, C1/T1 Modes (868 MHz), OMS v3 & v4.
The same antenna is also used for communication via NB-IoT and LTE Cat-M1. A Nano SIM (4FF) is required for mobile connectivity.
The SIM Cad must be inserted or removed only when the device is not powered.
Properties of compatible SMA Antennas:
SMA Joint Rod Antenna (LTE, LoRa)
| Property | Value |
|---|---|
| Frequency range | 698-960 / 1710-2700 MHz |
| Length | 108 mm |
| Antenna Gain | 2 dBi |
| V.S.W.R | <= 2.5 |
| Radiation | Omnidirektional |
| Polarisation | Vertical |
| Max. Power | 5 W |
| Impedance | 50 Ohm |
| Connector | SMA Male |
| Material of dome | TPE |
| Lobaro Article Nr. | 3000413 |
The device was only tested with the listed antenna. Lobaro does not take liability for the use with other antennas.
RESET-Button
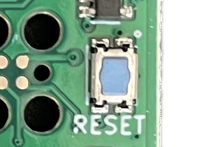
- Press the RESET Button to restart the deivce
- The RESET Button can be pressed through a small hole in the cover (e.g. with a paper clip). The position is marked with a ring on the label.
Config Port
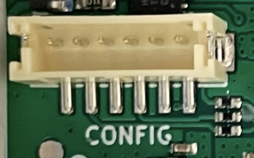
- The config port can only be reached when the cover is removed
- The configuration port is compatible with our 6-pin Lobaro USB Configuration Adapter (Arcticle Nr. 8000005).
- A free to use configuration tool can be downloaded from the Lobaro Maintenance Tool page.
LED
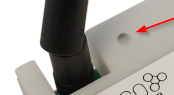
- Status information is visualized via the LED
Firmware & Features
See: app-nrf9160-wmbus
Configuration
See: app-nrf9160-wmbus / Configuration Parameter
CE Declaration of Conformity
 | Datei nicht verfügbar |